Beach Photography Tips for Family Sessions
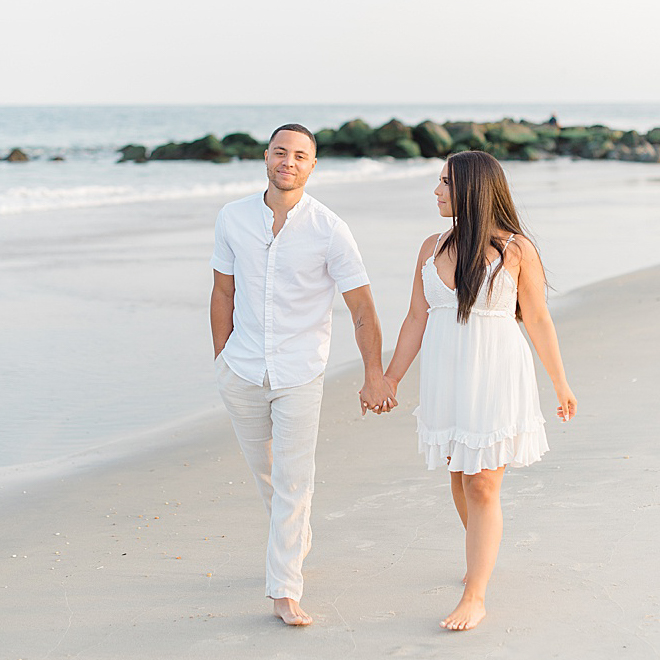
The beach is not only a great place to take pictures, but it is my favorite location, in particular, to take family photos. But, beach sessions can be tricky between the harsh lighting, the wind and crowds and family photography is also pretty tough! I had to make many mistakes before coming up with a system that worked well for me. In this post, I am going to share my best tips to help you prepare for, shoot and edit the best beach family photo session you have ever had.
Related Read: Easy Outfit Ideas for Your Family Beach Photos
(Feel free to send this post to your clients!)
How to Get Great Beach Family Photographs
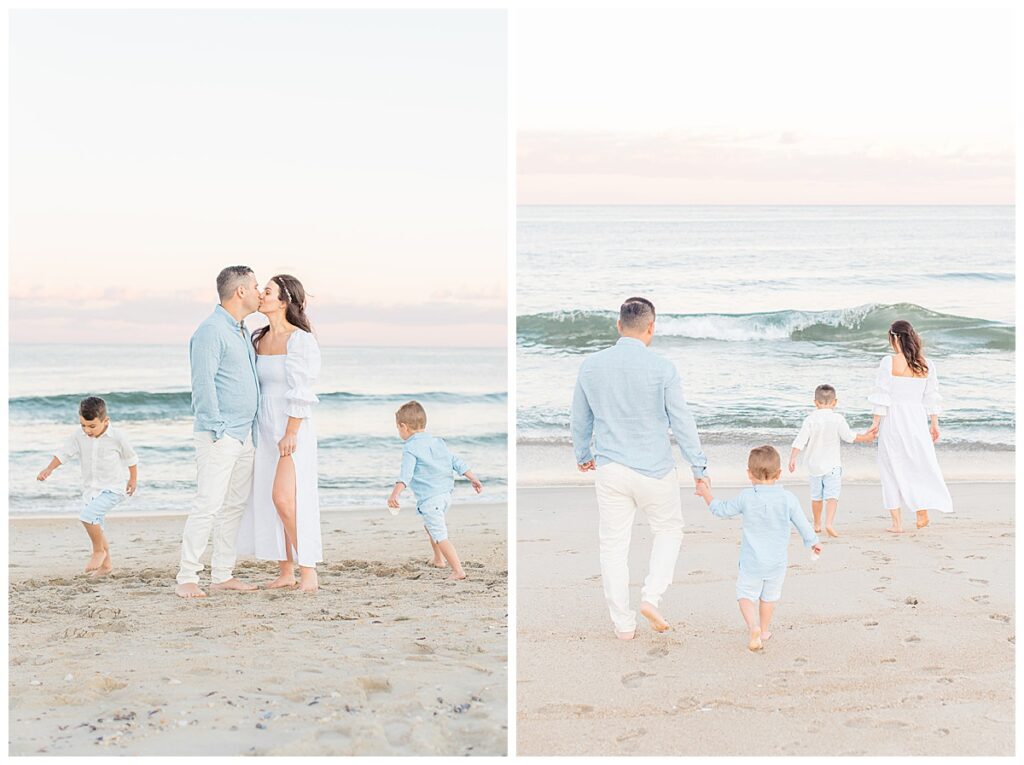
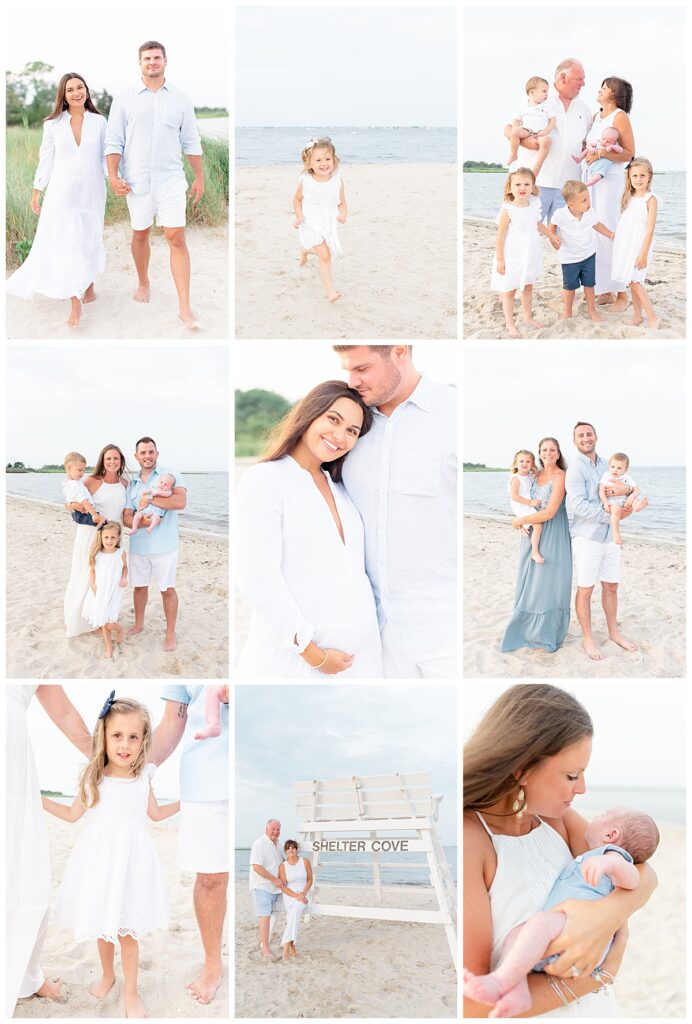
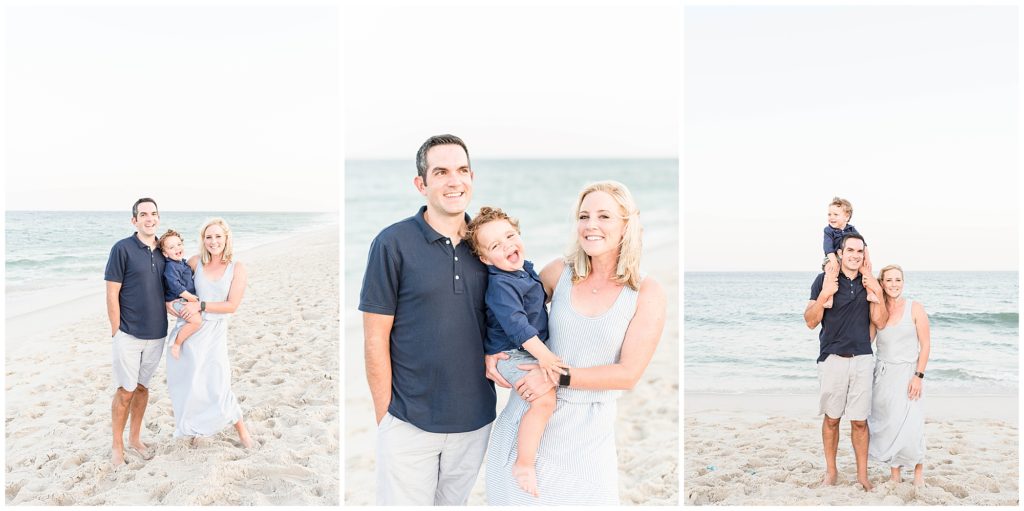
As you can see from the photos in this post, I photograph tons of family beach sessions all along the Jersey shore. I love doing them because it is so different from shooting a wedding. I always wanted to be a family photographer before getting into weddings. The problem is- I didn’t realize how challenging it was! The thing about families is they come in all sizes and ages. Each session I photographed had members of different ages so it took me a really long time to be able to consistently pose them in a flattering way. Furthermore, during beach sessions, you really only have one hour to get all the shots you need. You can’t start too early (unless it happens to be a cloudy day) because the sun will be too harsh. So I always start the hour before sunset and end when it gets too dark to continue. Because we are talking about photographing families, I use a high aperture which means I need to stop shooting even earlier than engagement sessions when I can bring my aperture lower to allow more light in. All this is to say that photographing families is no joke. It is a high pressure situation and when you are out of light, the shoot is over!
Hopefully, this post will help your next family session go smoothly and be less stressful. I am breaking this post down into workflow. For example, tips fore before the shoot, during and in post production. I’ll also include common mistakes what not to do during your photo session. So let’s get into it!
Beach Pictures: Before the Shoot
Schedule at Golden Hour Only
The only time of day I will shoot at the beach is the hour before sunset or the hour after sunrise. This golden hour light is soft and flattering. It isn’t just the best time to take beach photos..it is actually the only way I will schedule family portraits at the beach. I avoid shooting in the middle of the day regardless of the location but on the beach it is impossible. My clients used to try and negotiate with me about what time to start. Especially the ones with younger kids because evening golden hour in the summer is too close to their bedtimes. And in the beginning of my career, it would work. So I would agree to shoot earlier in the day and the results were not flattering. Do not do it! Schedule the hour before sunset! this is my number one tip and it will make a huge difference in your photos, I promise. Avoiding overly bright sunlight is essential on the beach and all the best photos are taken in that beautiful golden light.
Give Outfit Advice on What to Wear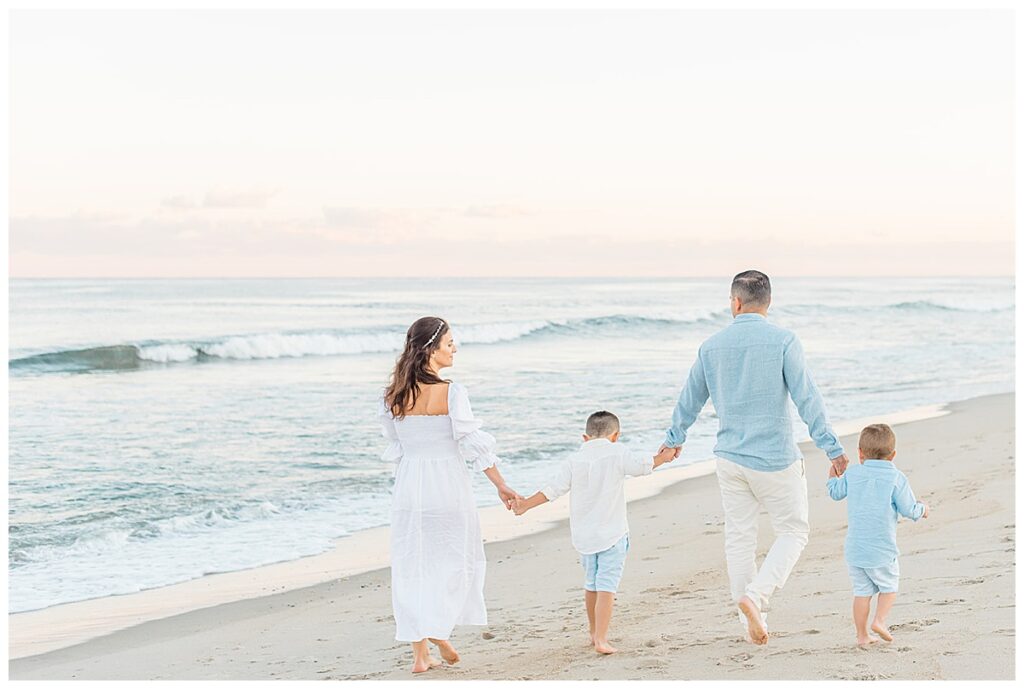
Related Read: Easy Outfit Ideas for Your Next Family Photoshoot
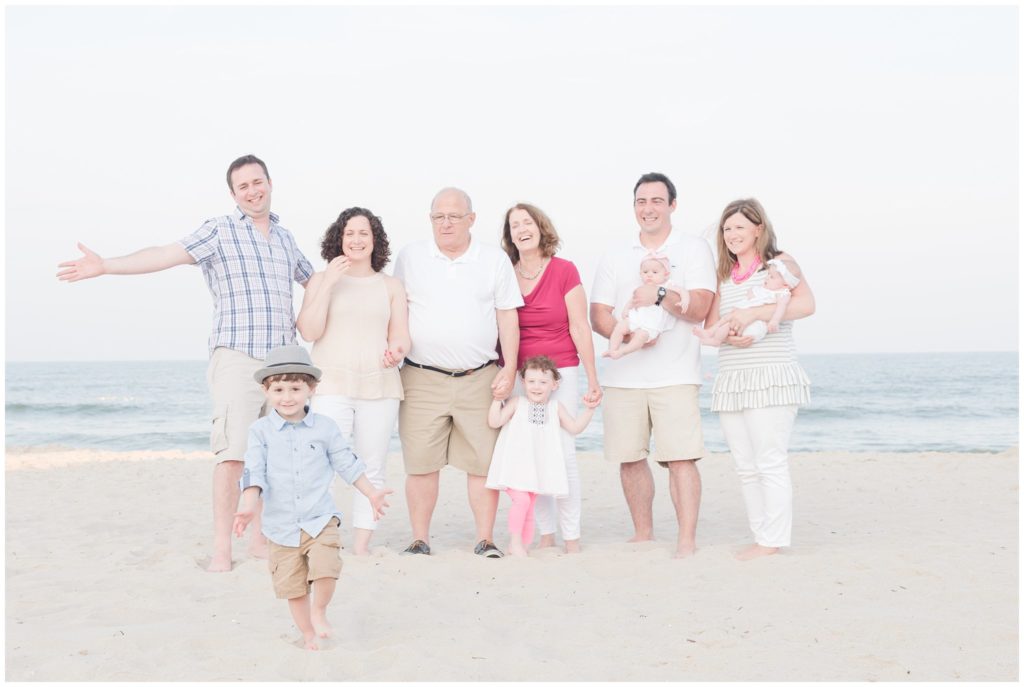
Providing outfit advice helps your client develop complementary color schemes. Many times my clients will where white clothing to their family beach photoshoot which definitely works, but I also like to recommend some ways to add color and prints to their outfits. Matching white shirts isn’t exactly my personal aesthetic, but it does match. Solid colors look nice, but if you can mix in a print and make it look intentional, it takes the styling to another level. Light blues and neutrals also look great with a beach backdrop. Personally, I prefer light colors, especially on the beach. For more tips on what to wear, check out this post.
No Shoes
Speaking of outfit advice- I always prompt my clients to leave their shoes near the boardwalk. Having the family walk on the beach barefoot not only makes a great shot, but it looks more natural.
Provide Location Options & Examples
While all beach landscapes are beautiful in my opinion, they are not all the same. So, when scheduling any portrait photography session, I always email my clients specific location ideas and links to sessions I have photographed there so they can see not only what the location looks like but what my photographs look like in that location. For Jersey Shore Family Beach Photos, my list looks something like this:
Spring Lake – Divine Park + Beach
Bonus Tip: You could also include a blurb on what makes each location special, why you love it, etc.
Shooting Tips
Now that it is time to actually shoot the session you have scheduled, here are some of my best photography tips to make sure you get beautiful photos for your clients.
Manual Mode
Taking the time to learn manual mode makes all the difference. If you are following this guide and shooting during golden hour, the light should be pretty soft and consistent. If you are photographing families, make sure your shutter speed is fast enough to catch quick moving kids!
Related Read: How to Shoot in Manual Mode
Focusing
I use back button focus with a single center focal point that I use to focus and recompose.
Backlight
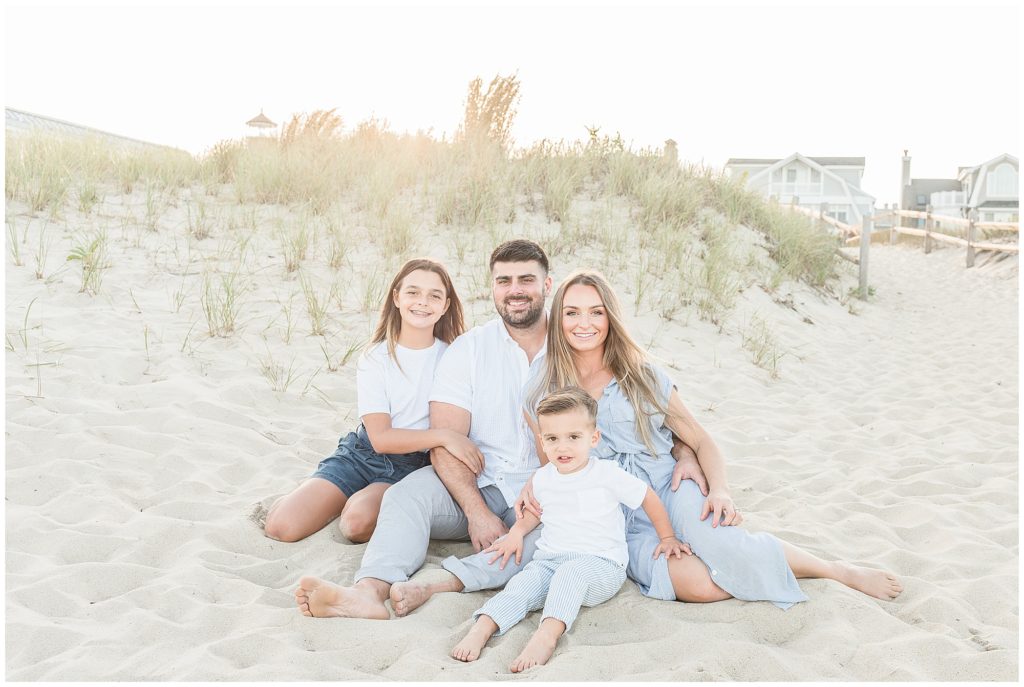
To achieve the light and airy look I love, I try to backlight whenever possible. This can be tricky on the beach if you are shooting at sunset and live on the east coast like I do! I like to start by backlighting and often have to get creative, using dunes, etc.
Composition
Learning to compose in camera will save you time later in post production. It can be tricky to nail a perfect composition in camera during a family session so to start, I focus on leaving enough space around my subject to be able to straighten my images later without cutting off feet, hands, heads, etc.
Posing Tips
Related Read: Best Natural Engagement Photo Poses & Ideas
While I am primarily a wedding photographer, I am also becoming known as a family photographer since I photograph so many family beach portraits. Specifically, I am known for photographing larger groups of extended family members which definitely took a lot of practice! So here are my best posing tips.
Family Walking Poses
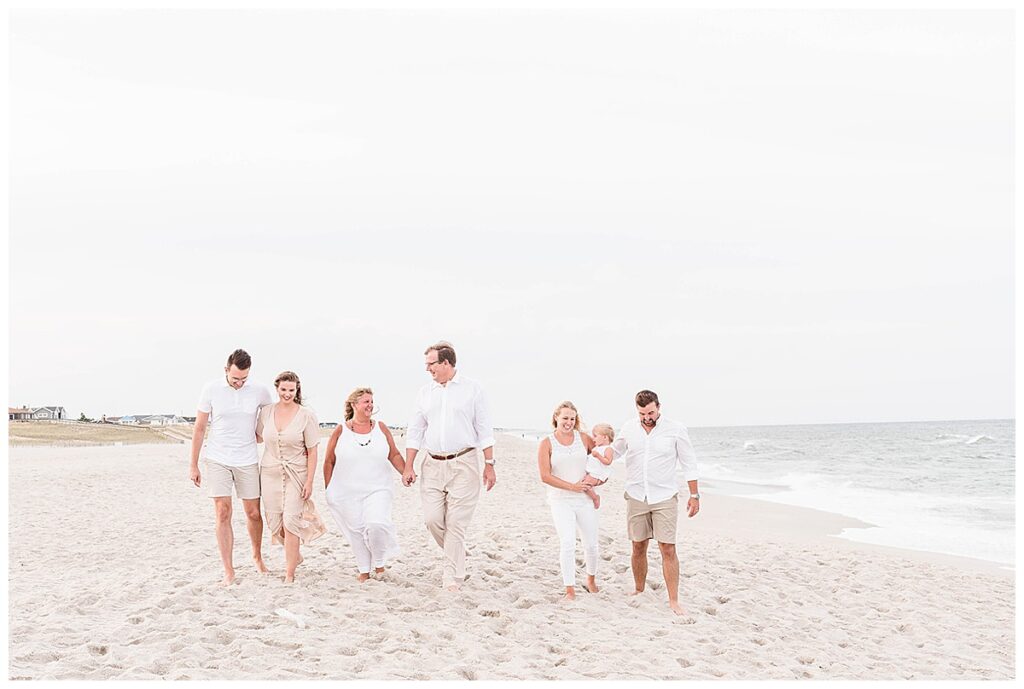
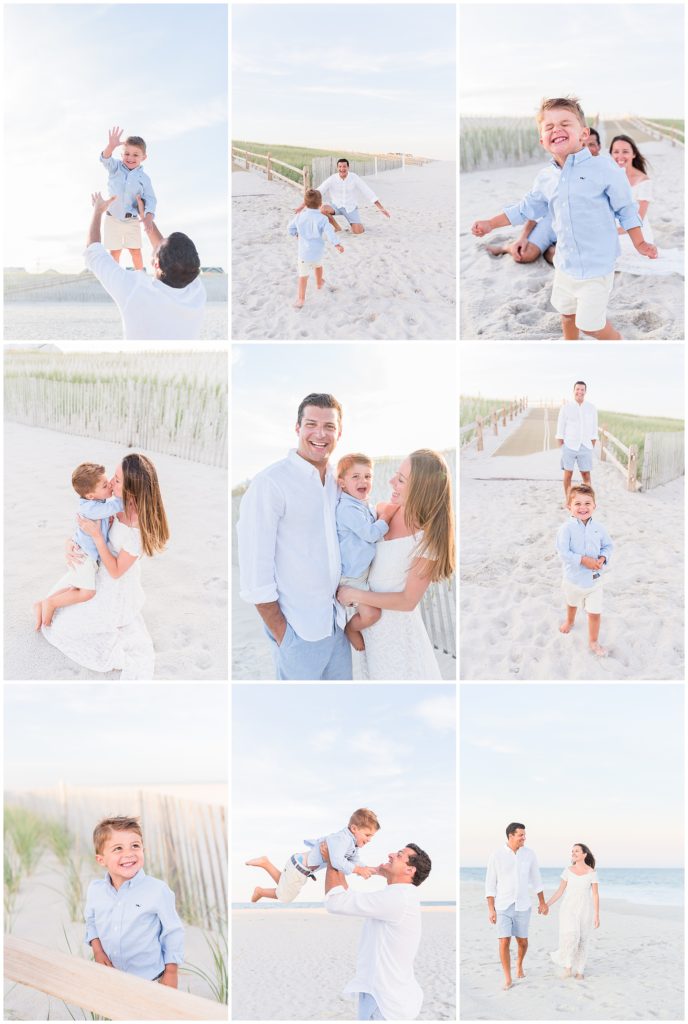
I always start with a family walking shot. I like to shoot this in all directions. For example, backlit with the street or boardwalk in the background, walking up and down the beach (you will have sand in the background in both directions) and finally, of course, with the ocean behind them.
These walking shots help everyone get comfortable in front of the camera and look really natural. I will gently pose them to create some connection, for example, have some people holding hands, so with arms around each other, and have an adult holding a small child. I prompt them to vary where they are looking between each other and the camera.
Stop and Smile
From each direction of walking, I will have them stop and all smile at the camera. From here I make minor posing adjustments, such as hands in pockets, slightly turning people, posing legs, etc.
Break Out Sessions
After we get a few full group shots, I will begin break out sessions. If you are photographing an extended family, this could take awhile because there are so many combinations. Typically, this goes pretty quickly since it is easier to get the shot with smaller groups of people.
Sitting on the Beach
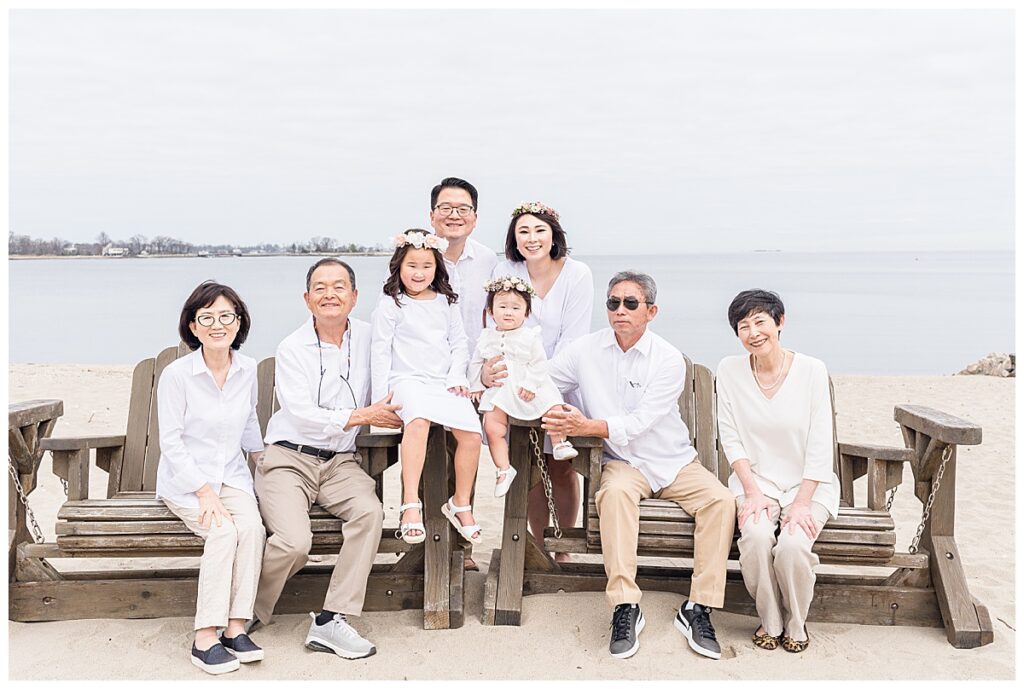
Another shot we sometimes do, depending on the family are sitting shots. This could be on the beach in the sand, Adirondack chairs, or on canoes or lifeguard stands depending on the beach.
Be Aware of the Wind
As professional photographers, we are always looking out for the best lighting. But I find that on the beach I have to pose people with long hair especially for the wind. Sometimes posing helps and sometimes we just have to wait it out. Oftentimes, I embrace it, posing my client to run her hands through her hair and laugh.
Post Family Session Editing Tips
Use a Preset
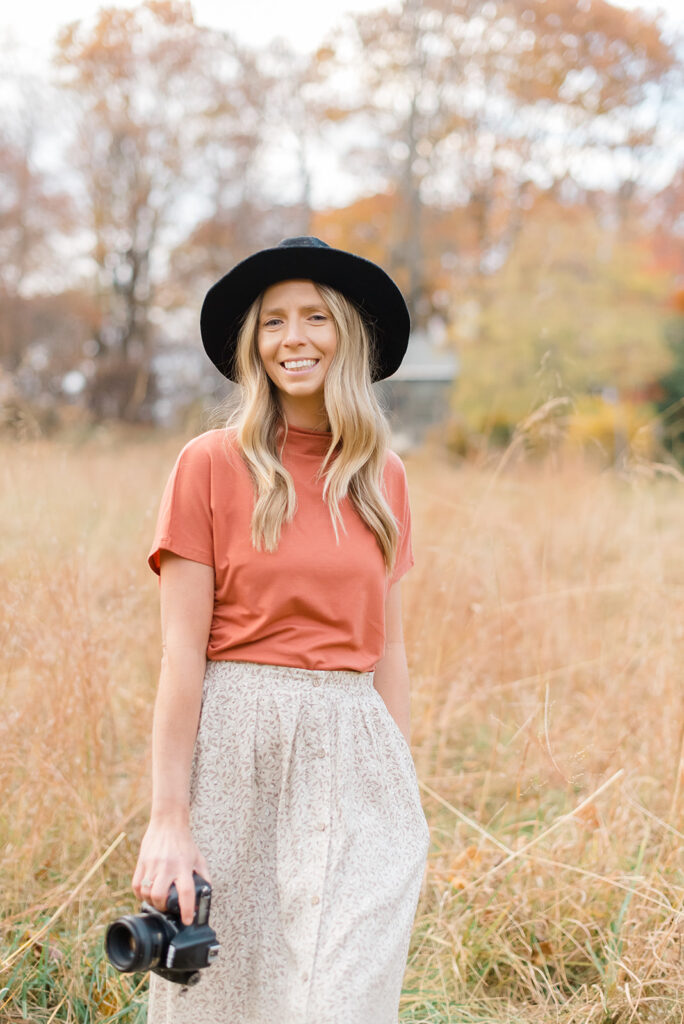
Don’t be afraid to use a preset on your photos. I shoot in RAW which means my photos need quite a bit of editing to look like they weren’t edited at all! I shoot on a Nikon D750 and use the Lauren Fair Presets on my photos and make a few tweaks to my personal style.
Straighten Horizon
Especially during a crazy family session, it can be hard to hold my camera straight. I always crop and straighten my photos. This will give them a more polished and professional look.
What to Avoid
Now that I’ve given you tons of things to work on, here are a few quick tips on what to avoid using or doing during your family beach sessions.
Flash
This includes: fill flash, on camera flash or any type of external flash
Some photographers will use flash at the beach, but if you prefer a natural light look like I do, please do not use flash at the beach. Follow the advice in this post, shoot at golden hour and you will be, well…GOLDEN!
UV filter
Again, I prefer a more natural look, so I don’t use any colored filters on my photos.
Shooting Midday
The harsh sun is not flattering. I only shoot the hour before sunset on the beach.
Crowded Locations
The beach in the summer on the Jersey shore can get busy. For this reason, I avoid certain locations like Point Pleasant because they can be pretty crowded, even at night (especially at night!) Do your research and provide location suggestions to your clients.
Sunglasses
Remind clients to remove sunglasses. Also watch out for transition lenses that are getting dark.
Take Better Photos Series
This post is a part of our Take Better Photos series. See more posts in our series below.
Take Better Pictures Without a DSRL
Photography Gear Recommendations
99 Ways to Take Better Photos
Learn to Shoot in Manual Mode
Best Natural Engagement Photo Poses & Ideas
Conclusion
Well, there you have it! I hope you loved these beach family photography tips. This is a huge post and I really hope it helps you during your next photo session. I know there is a lot covered here to work on, so don’t try to do too much at once. My advice is to pick one thing from each section (before your session, during and after) to work on and improve and pretty soon you will see a real difference in your photos.

